My current laptop came with Windows 11 Home as the OS; however, I really wanted to Windows 11 Pro workstation. So that after I remake my Proxmox cluster server, and create my domain controller I can join the laptop to my domain. (Spoiler alert: more on the Proxmox cluster server project in a future post!) Windows Pro edition also comes with a lot more customization options for settings and allows you to finish installing the image without adding a Microsoft account, for extra privacy. So I decided to install Windows 10 Pro on my computer, buy a cheap licensee to activate it then upgrade to windows 11. The whole process went exactly as planned and within an hour I had Windows 11 Pro fully installed and activated on my laptop. Except for the fact that it didn’t exactly go as I planned.
I noticed my computer’s boot time had increased exponentially. What normally took 20 seconds was now taking 2-3 minutes. At first, I thought it was just because the OS install was still so new it had a few things to finish configuring in the background, and decided to run all the Windows updates I could find and see if the problem went away. Unfortunately, it did not.
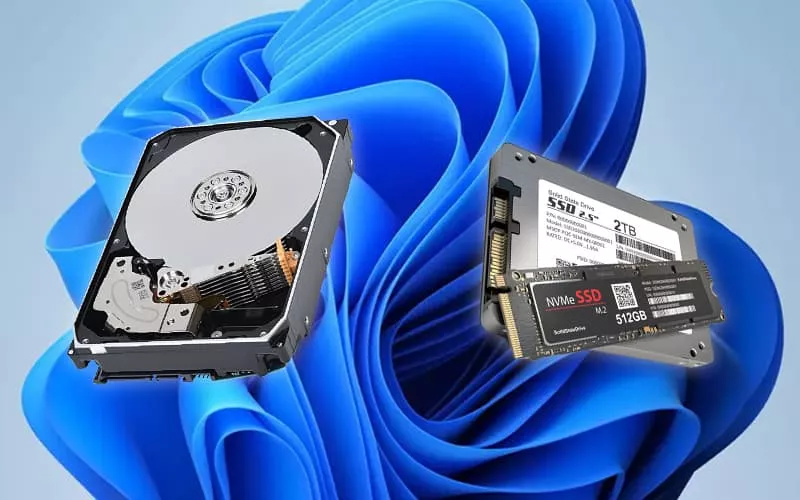
This is when I decided to check which hard disk the OS was installed on, as I have 2 in this laptop. A 1TB SSD NVMe drive that housed the original OS and a 1TB HHD that was used for storage. I was starting to think I may have accidentally installed it on the HHD instead of the SSD, which would explain the slow boot speed. I did this by first going to disk manager and seeing which disk number (0 or 1) had the Windows 11 Pro OS installed on it. I was able to see there that the OS was installed on disk 0, which I assumed was the NVMe, but a quick look at the “Defragment and Optimize Disk” tool showed me that my Disk 0 was actually my HHD, and Disk 1 was my NVMe.
Now I was faced with a decision. Do I leave it how it is? Or do I try installing again and hope my activation key for Windows 10 still works, even though I just claimed it? Both options were not ideal, so I continued to think about it and came up with the idea of cloning the hard drive onto the NVMe, then booting from the NVMe into Windows, where I could reformat the HHD into a storage drive. This seemed like the least involved process and the best solution. So I installed the free trial of Macrium Reflect onto my computer and started the cloning process.
After the cloning was completed, I restarted my laptop, pressed F8 to get into the One-Time Boot Menu, where I selected to boot from my NVMe. Success!! I was able to boot into Windows in the typical 15-20 seconds you expect from an NVMe drive, and using the diskpart command accessed Disk 0, where I cleaned it and reassigned it a drive letter, giving me extra storage.
Overall, it was a learning experience for me. It showed me that things don’t always go as planned, but there are always options to fix it. It’s also important to take a step back and assess the situation, think about the possible solutions, and choose the best option. I hope this tale of data recovery and migration helps someone else who may find themselves in a similar situation. And who knows, maybe it’ll inspire someone to get creative with their own computer problems and come up with a unique solution.